Importing
To import from Office365/Azure AD you will need to create a new group through the Create Group page.
You will also need a user to log into for the Microsoft account you want to sync. Once you enter a name for the group, select "Microsoft Graph (Office365/Azure AD)" from the Third-Party Syncing drop-down menu. Finally, click Create Group.
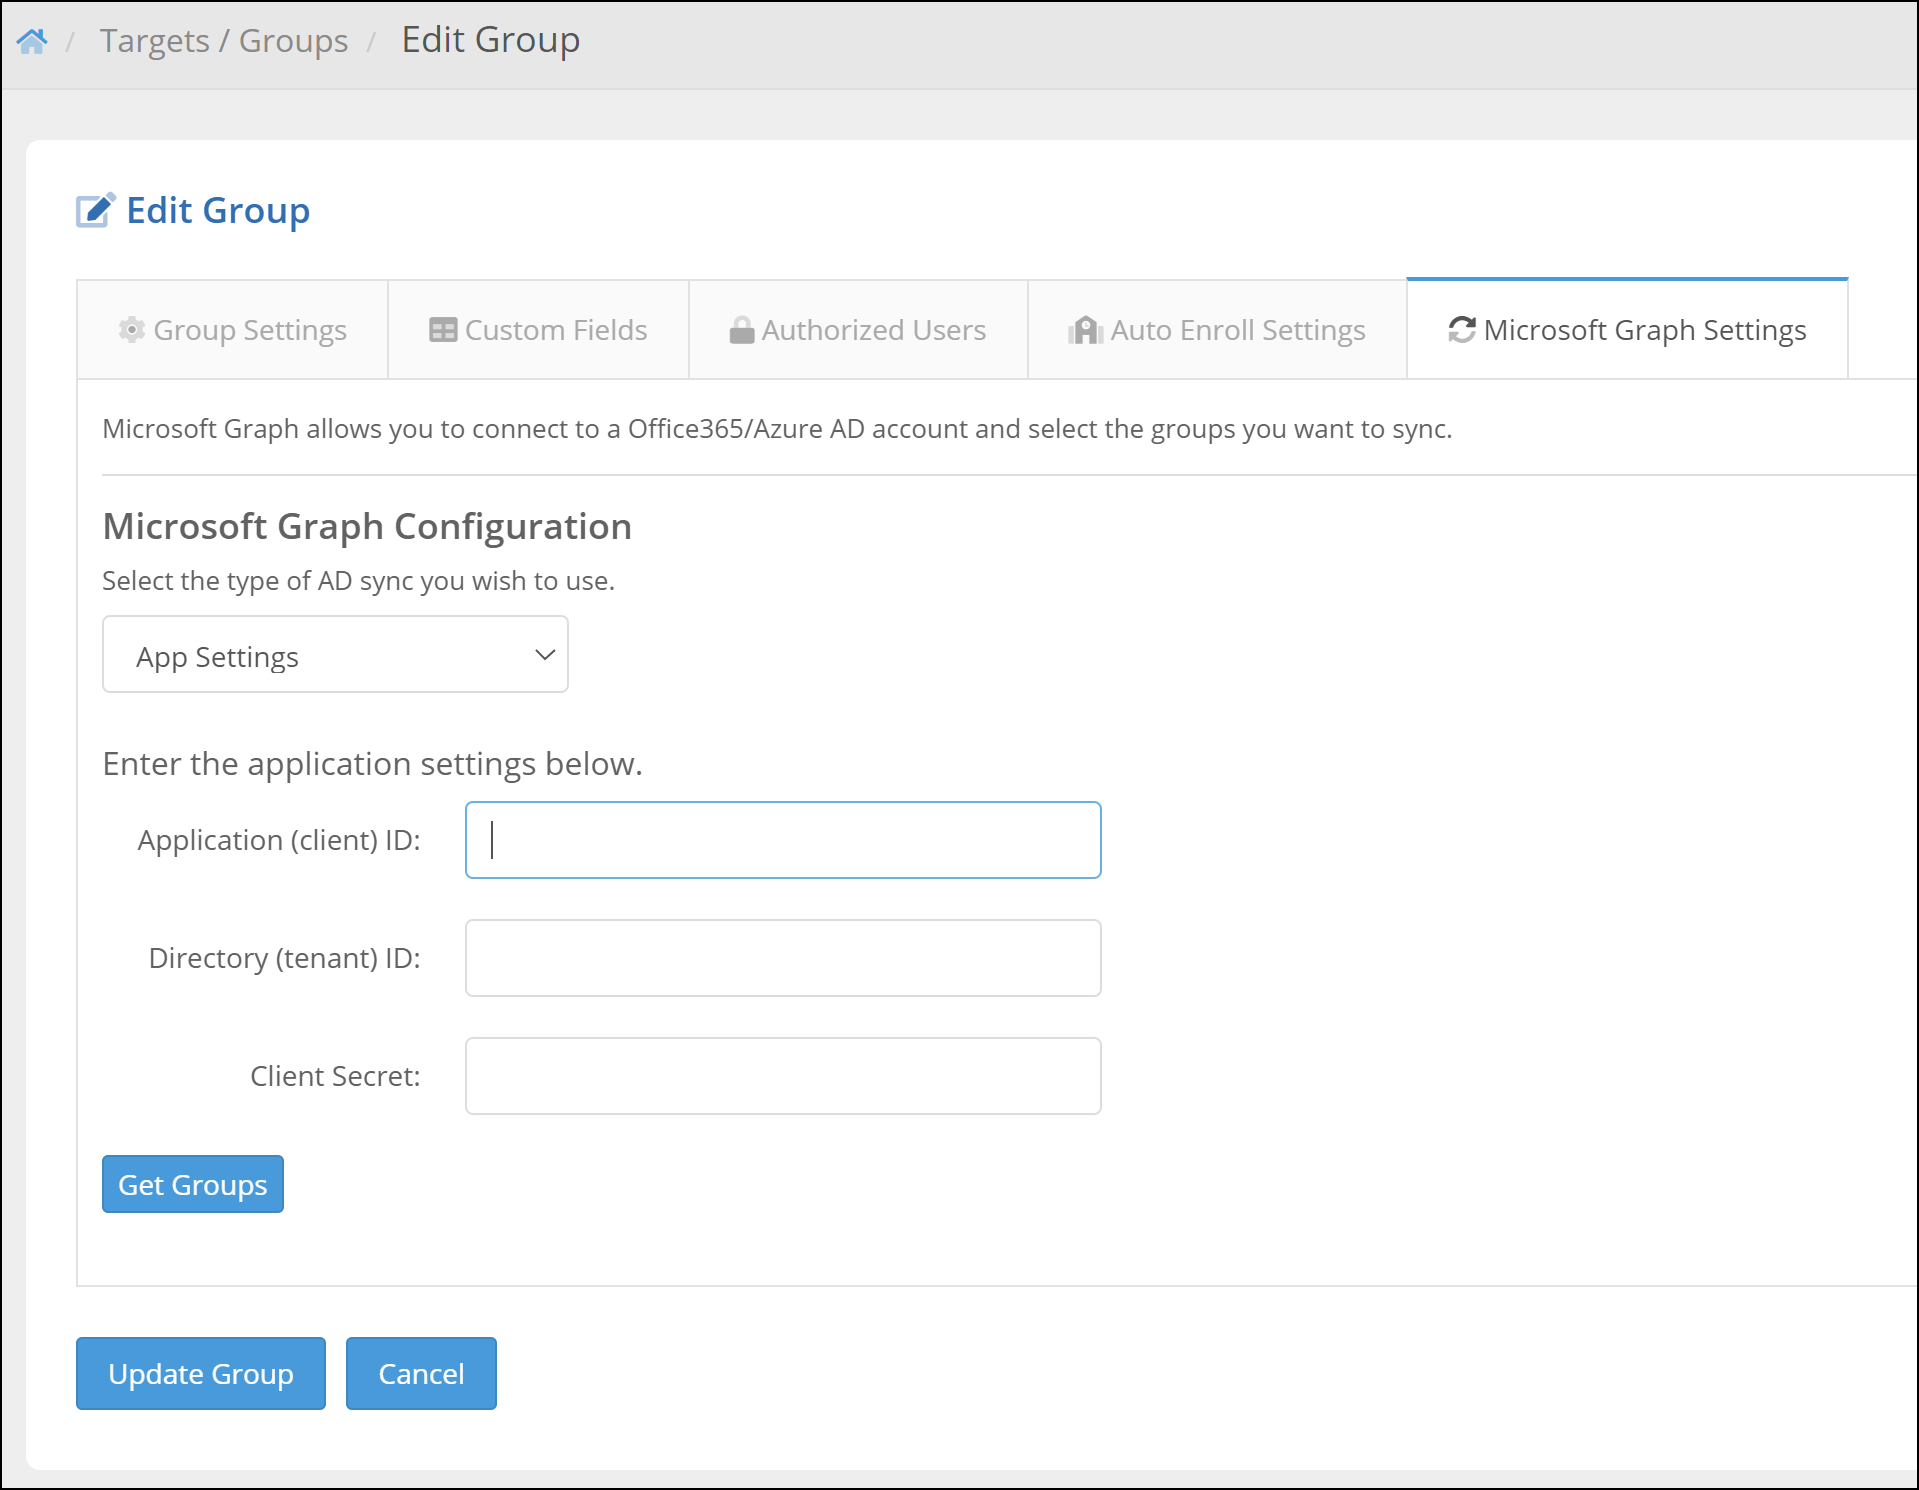
Once the group is created, go to the Microsoft Graph Settings screen, shown below. Please do not choose the first option from the drop-down ("Log in to O365 (deprecated)").
Instead, please select the App Settings option from the drop-down, you'll be presented with the below configuration.
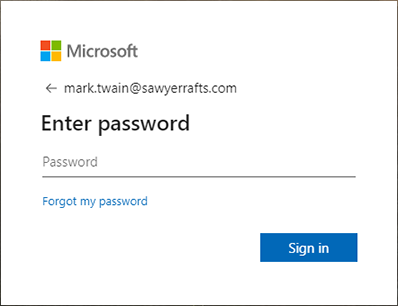
If "O365 (deprecated)" is selected, you will then be redirected to Microsoft to login to the account you want to sync.
- Note: The Microsoft account used to log in must have at least Application Administrator privileges.
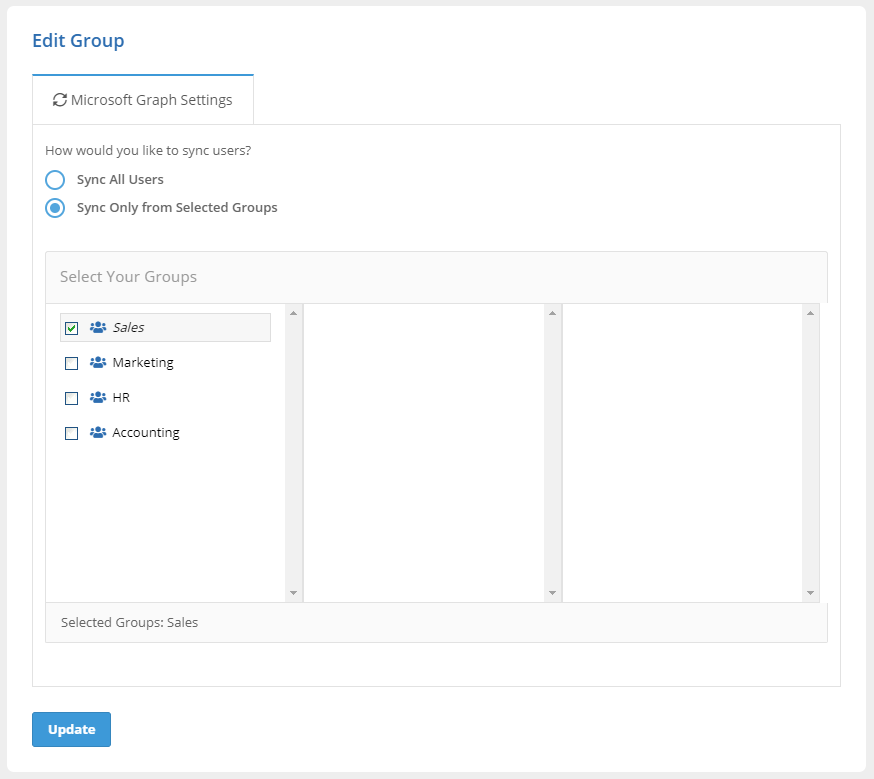
Once logged in, you will be redirected back to the portal to select which groups you want to include in the sync. If you simply want to sync everyone on the account, select "Sync All Users." When you are finished selecting your groups, click on Update and your targets will be synced.
Portal can pull in the following fields from the Graph/Azure integration:
| Portal Field | Azure Field |
| last_name | surname |
| first_name | givenName |
| mail (if empty, then userPrincipalName) | |
| company | companyName |
| title | jobTitle |
| city | city |
| country | country |
| department | department |
| phone_mobile | mobilePhone |
| zip | postalCode |
| state | state |
| address_one | streetAddress |
| name | displayName |
| integration_id | identities |
| manager | displayName |
| phone_business | businessPhones |
| language | preferredLanguage |
For additional information on finding the App Settings needed, please visit our Azure Integration article for the Integration Store here. If you have a single Azure portal you are connecting with, please use the linked set of instructions.
If you are syncing multiple Azure tenants, you will need to complete the settings through Manage Groups described in this article.
Troubleshooting
When you log into your Microsoft account as prompted by the Portal portal, Azure active directory should grant Portal all API permissions needed to sync your groups/targets. However, if you are redirected to the Portal after logging in through Microsoft and your AD data fails to load, you may have to enable some API permissions for Portal in your Azure portal manually.
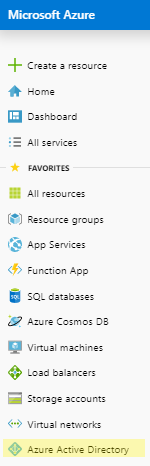
Navigate to portal.azure.com and log in.
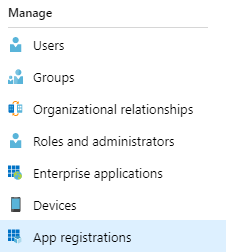
1. On the Azure portal dashboard, click Azure Active Directory.
2. In the active directory navigation, click App Registrations. This will display all applications registered in your Azure account.
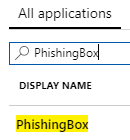
3. In the search box type "PhishingBox", this will display the PhishingBox app entry. Click the PhishingBox entry. This page will display Azure AD information for the Portal app.
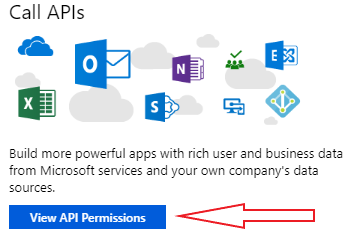
4. Under the "Call APIs" section, click View API Permissions.
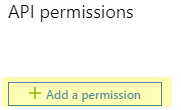
5. On the API permissions page, click Add a permission.
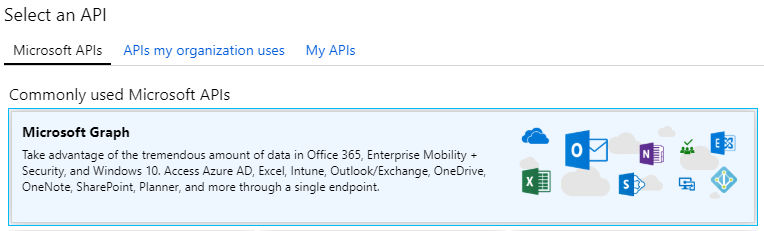
6. On the Request API permissions page, click the Microsoft Graph card.
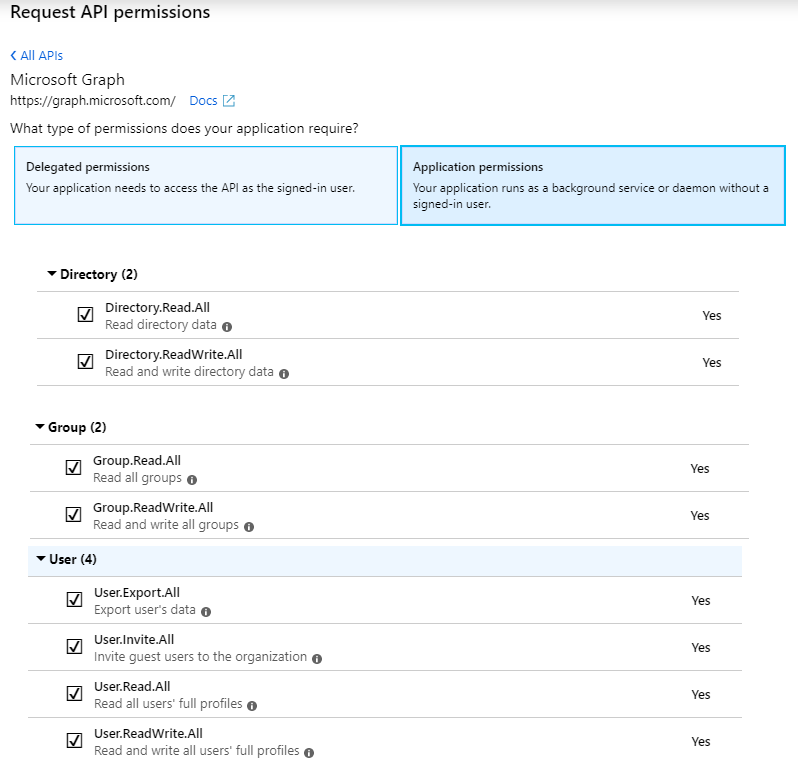
7. Click the Application Permissions card. In this menu, the following checkboxes must be checked;
- Directory > Directory.Read.All
- Directory > Directory.ReadWrite.All
- Group > Group.Read.All
- Group > Group.ReadWrite.All
- User > User.Export.All
- User > User.Invite.All
- User > User.Read.All
- User > User.ReadWrite.All
8. Click the Add permissions button.
After you have completed adding the Application permissions stated above, you must add the same permissions to Delegated permissions. Repeat steps 7-8 under the Delegated permissions section.
9. At the bottom of the API permissions page, click the Grant admin consent for PhishingBox LLC button. This will grant all the permissions added in the above steps to Portal. Your group syncs using Azure AD/MSGraph should now function properly.