You will create an application registration in your AD, assign the proper API permissions, then enter the application credentials into Portal. After doing so, Portal will be able to connect to your AD and import your AD's groups and users.
Registering the Application
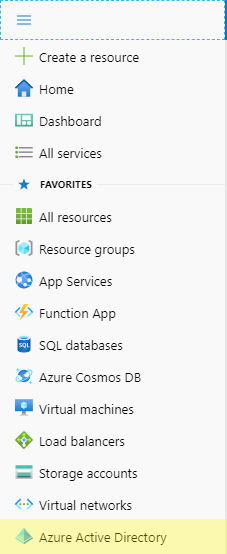
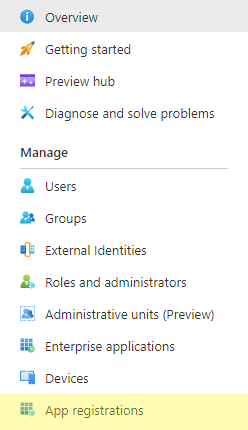
To start, navigate to the Azure portal and sign in. Once signed in, click the hamburger menu in the top-left of the portal and click Azure Active Directory. After navigating to Azure Active Directory, Click App Registrations in the navigation menu on the left-hand side.
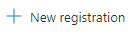
Once in the App Registrations window, click the New registration button, located on the top of the window.
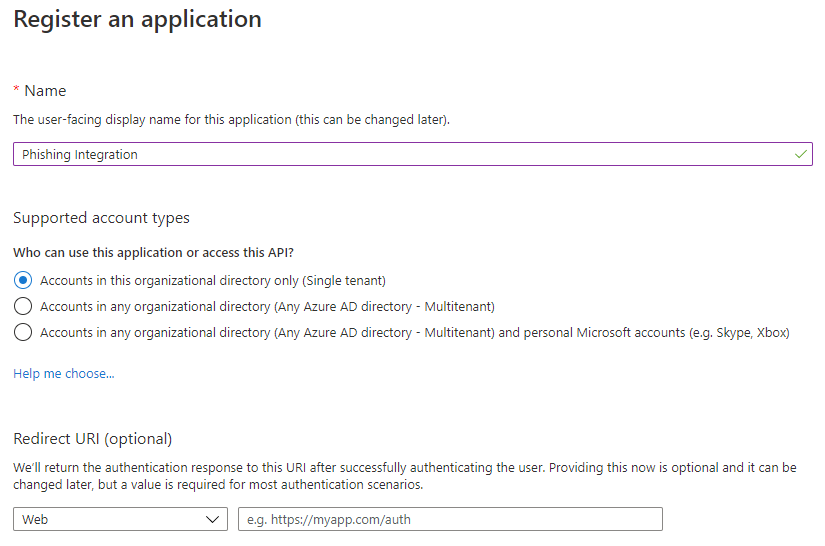
This will open the application registration wizard. Give the application a name, and select the 'Accounts in this organization directory only' option under the 'Supported account types' section, then click the 'Register' button on the bottom left-hand side of the wizard. A Redirect URI is not required.
Assigning Permissions
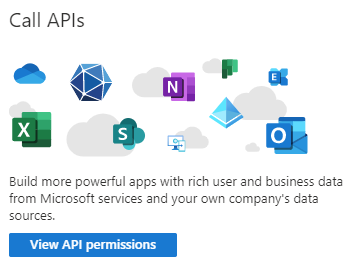
Now the application has been created and you will be redirected to the application overview. Note the Application (client) ID and Directory (tenant) ID. Portal will need both, along with a secret, in order to connect to the directory. Before you enter the App ID and Directory ID into Portal, the application needs API permissions. Click the View API permissions button under the 'Call APIs' section, or the 'API permissions' link in the navigation menu on the left-hand side.
After navigating to the API Permissions page, click the Add a permission button, located above the permissions table. You will then need to select an API, select Microsoft Graph.

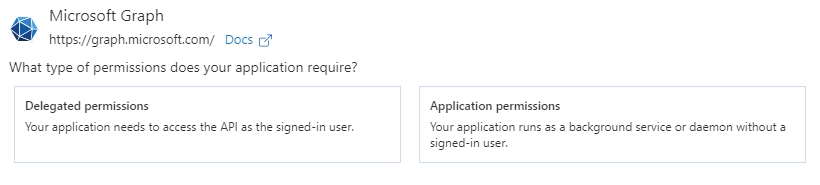
The application will require specific delegated permissions and application permissions. First, select Delegated permissions.
The delegated permissions required are as follows;
- Directory.Read.All
- Group.Read.All
- GroupMember.Read.All
- profile
- User.Read
- User.Read.All
- User.ReadBasic.All
Click the respective checkboxes for each permission above, then click 'Add permissions', located at the bottom of the Request API permissions form, to add the permissions to the application.
After adding the Delegated permissions, the Application permissions must be added. Click the 'Add a permission' button, then select Microsoft Graph, then 'Application permissions'.
The application permissions required are as follows;
- Directory.Read.All
- Group.Read.All
- GroupMember.Read.All
- User.Read.All
Once again, click the 'Add permissions' button. After being redirected back to the application's API permissions page, administrator consent will be required to grant the selected permissions to the application. The minimum admin privileges required to grant consent are Application privileges. If the logged-in user has the proper privileges, click the Grant admin consent button on the application's API permissions page.
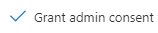
You will be asked to verify, click 'Yes' to continue. If the permissions are granted successfully,  is displayed in the 'Status' column for the respective permissions.
Credentials
Next, the credentials needed for Portal to connect will have to be collected. Portal requires three distinct keys or ids in order to connect to your AD;
- Application (client) ID
- Directory (tenant) ID
- Client secret
IDs
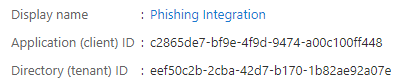
The Application ID and Directory ID are displayed in the Overview tab of the application page. Click the Overview link in the navigation menu on the left-hand side.

The Application ID and the Directory ID will be displayed at the top of the page below the application's display name.
Client Secret
Click the Certificates & secrets link in the navigation menu on the left-hand side of the Azure portal.

Under the Client secrets section, click the 'New client secret' button.
You will be prompted to give the secret a description and select an expiry date.
- NOTE: If you choose to allow the secret to expire, after expiration another secret will need to be generated and the integration will need to be reconfigured.
After the secret is generated, you will want to save the secret value (circled in green in the below screenshot). If you navigate away from the page, the secret will be obscured and you will not be able to copy the secret to the clipboard. If you do not save the secret or it is obscured, you can always generate another one. Keep in mind that if the secret entered in Portal is deleted from the application registration or expires the integration will have to be reconfigured in Portal.

Now that you have configured the application and have the IDs and secret at hand, your Azure AD can be integrated with Portal.
Integrating with Portal
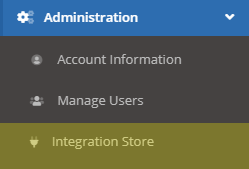
To integrate your Azure AD with Portal, log in to the Portal and navigate to Administration > Integration Store.
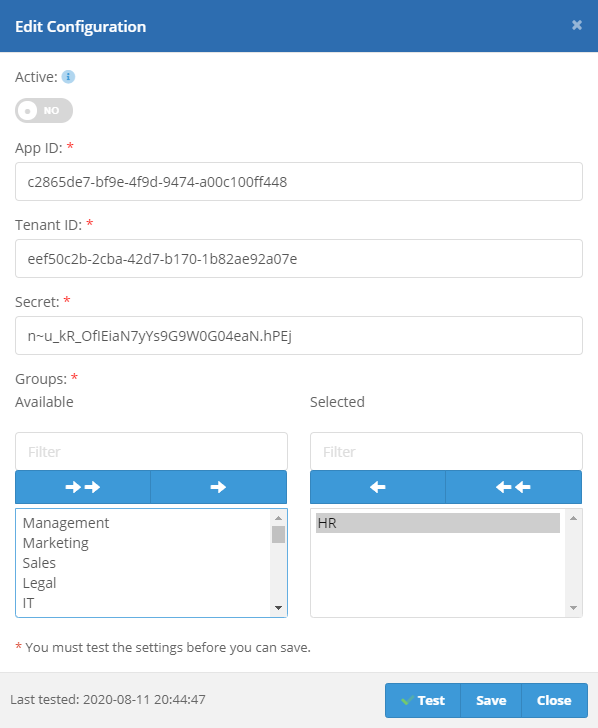
Click the Setup button on Azure AD's respective card. This will open the setup form for Azure AD. If you wish for the sync to occur immediately after saving the configuration, set the 'Active' switch to 'Yes'. Click 'Test' to connect Portal to your AD. If a connection is successful, your AD's groups will appear in the select box. Select the groups you want to sync with Portal then click the 'Save' button.
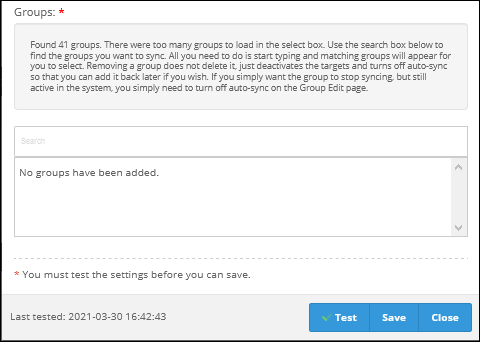
If there are more than 250 groups in the directory, then you will choose the groups using a search box, as shown below.
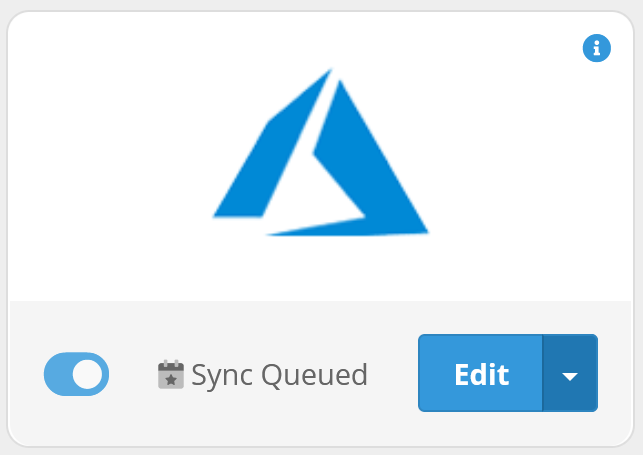
If the Active option was set to Yes, then the group(s) will be scheduled to sync in. The Azure card will say "Sync Queued". When the sync is finished, an integration_sync_finished email will be sent to the Account Manager Email (set on the Notifications tab on the Account Settings page).
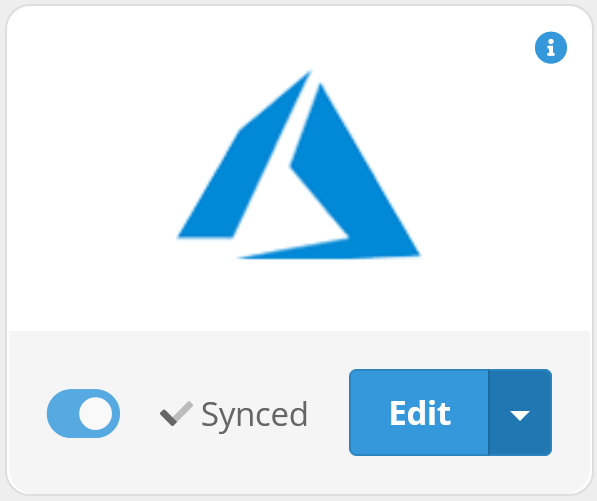
When the sync completes, it will say "Synced".
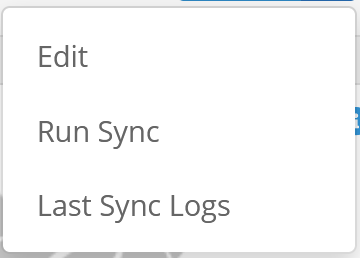
If you did not set the integration to active, you can sync later by selecting 'Run Sync' from the drop-down menu located at the bottom right-hand side of the integration's card. Then, the group will be scheduled for a sync. When the sync is finished, an integration_sync_finished email will be sent to the Account Manager Email (set on the Notifications tab on the Account Settings page). You can view the results of the last time the integration was synced by clicking on "Last Sync Logs" in the drop-down.