The Edit Account page can be reached by going to Reseller > Manage Accounts > clicking on the account name, or by clicking on the Portal logo (the fish) under Actions and clicking on "Edit Account".
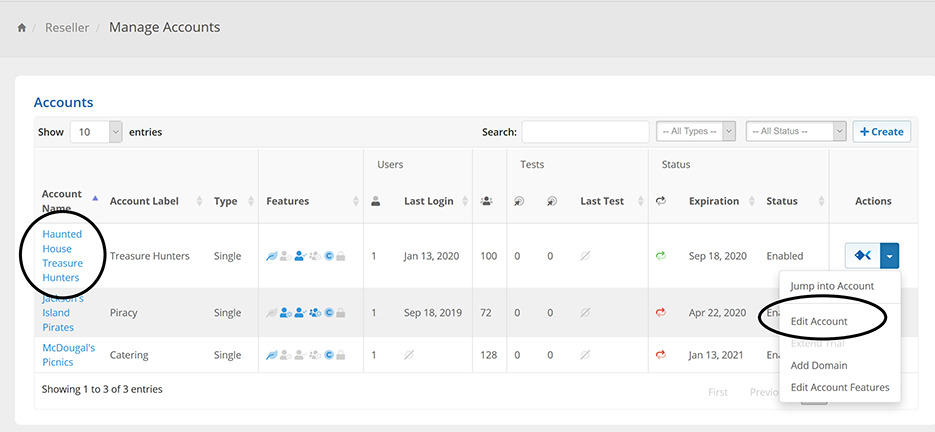
You will then be presented with a menu similar to the following:
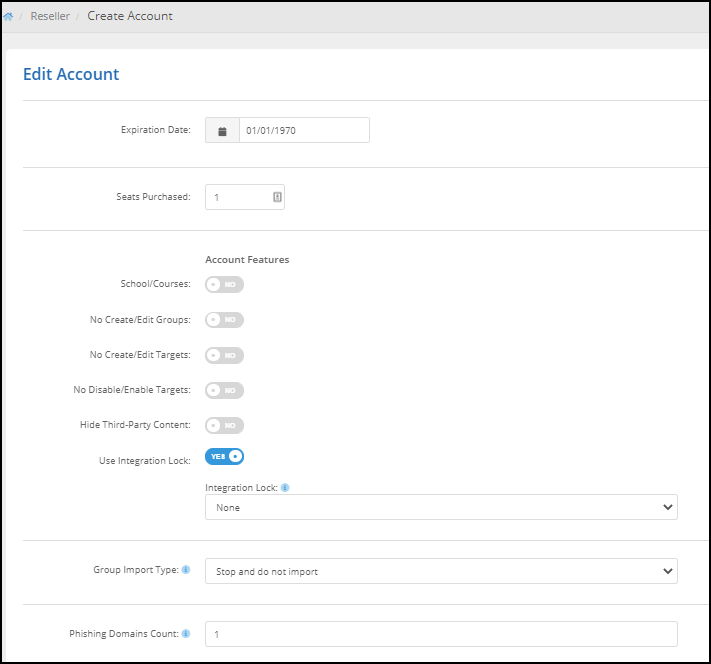
Registration Details
Expiration Date: the date the account is set to expire.
Seats Purchased: the number of seats (i.e. target emails) that come with the account.
Account Features
The first part of the Edit Account section provides you with Account Features settings.
School/Courses
This option allows the account to create and manage courses as well as enroll and manage students.
No Create/Edit Groups
Selecting this option prevents an account from being able to create or edit a group.
No Create/Edit Targets
Selecting this option prevents an account from being able to create or edit targets.
No Disable/Enable Targets
Prevents third party integration systems from editing a target. Must be done manually within the Portal system.
Use Integration Lock
Turning this feature on will cause the below "Integration Lock" drop-down to appear. This drop-down allows you to lock the menu system to a specific 3rd-party integration's requirements (such as GLS OnDemand).

Group Import Type
Below the Account Features section is a drop-down that lets you determine how the system handles an import when your account does not have enough available target seats to complete an import. There are three options from the drop-down:
- Stop and do not import
- Import up to the available amount
- Import all and send a bill for the overage
Account Details
This section is where you will enter information about the account (company/organization name, address, contact name, contact phone number, city, country, etc.).
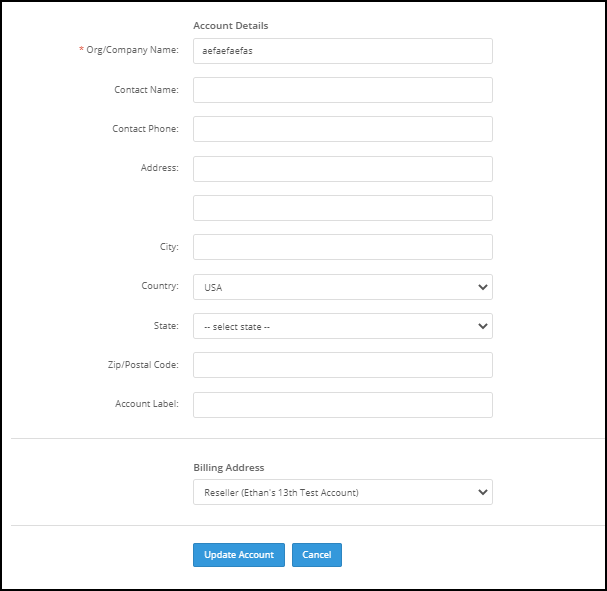
Billing Address
This section allows you to specify the billing address.
When you're done making changes, be sure to click the "Update Account" button at the bottom of the screen.