Step 1: Navigate to Manage Content
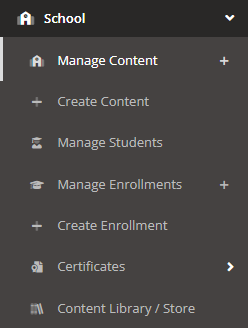
To see the courses you have available to you, first navigate to the left side of the screen and choose the option School. Next, click on the option Manage Content.
Step 2: Navigate to Preview
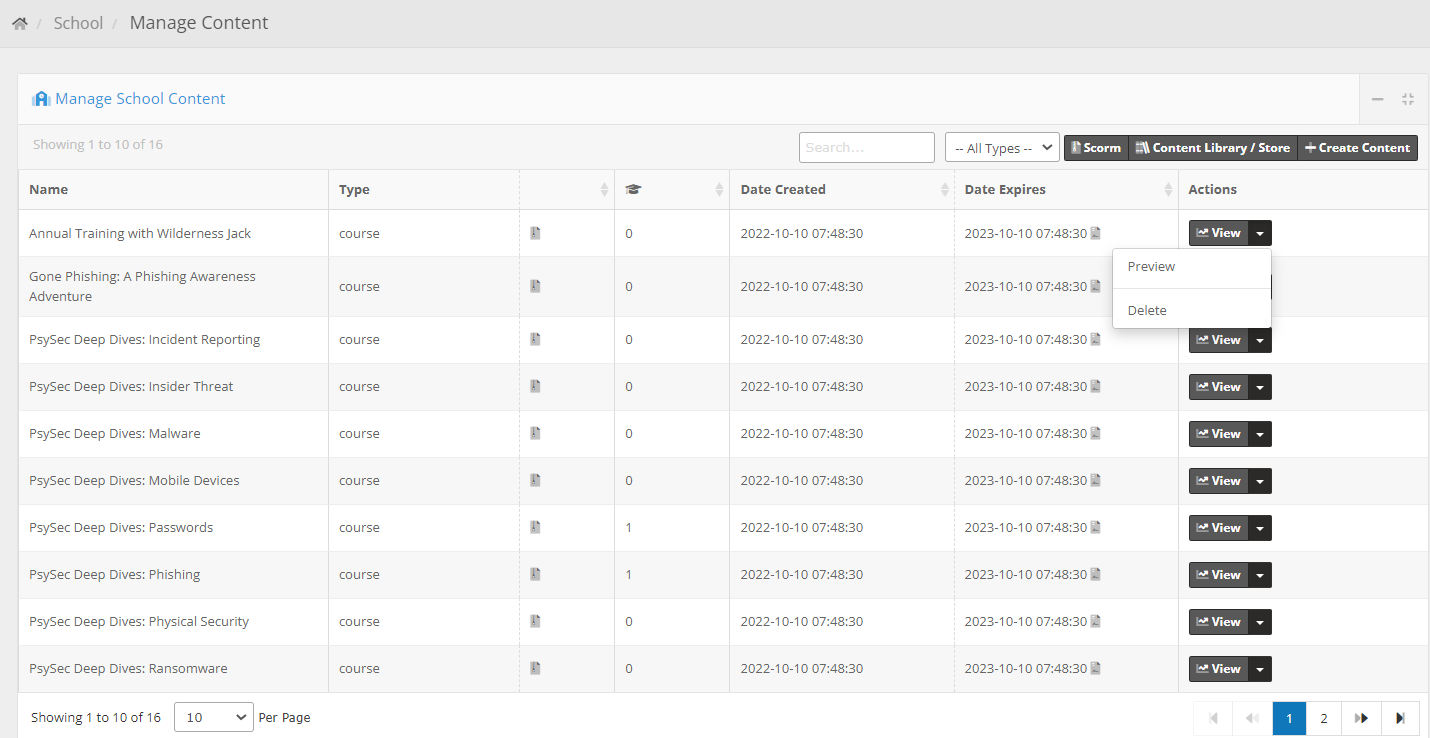
To preview the content within a course, navigate to the downward arrow next to View and press Preview. This will bring you to the course without needing to enroll yourself in the course first.
Now that you know what course you would like to enroll your users in, it’s time to create an enrollment!
Step 3: Navigate to Create Enrollment
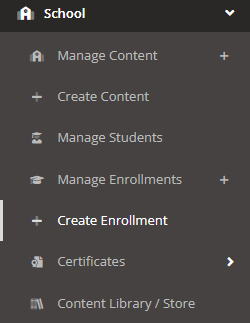
To create an enrollment, first navigate to the left side of the screen and choose the option School. Next, click on the option Create Enrollment.
Step 4: Choose Settings and Create Enrollment
Once on the Enroll Students page, you can choose to enroll by target or group. For enrolling by group select "group" out of the Enroll by drop-down menu. Then, select your group(s) to enroll under the "Group" drop-down.
For enrolling by targets, start typing the email address of the target in the Targets field. Once the email address starts generating, click on the email, then click Add to add it to the box of Targets below. If you do not click Add, the email will not be a choice for enrollment.
NOTE: It will not search by name. Make sure to enter a valid email address. After clicking 'Add', verify that a valid email address is in the added targets field, e.g., example@example.com. Students can be enrolled only if they exist as a target within the system.
Below the group/target select boxes are the Filter Options (available only if you are enrolling by group). You can filter out targets to be enrolled based on the subgroup, department, language, and timezone. If you use one or more of these filters, then only targets inside the group(s) you are enrolling that match the filter will be enrolled into the course(s).
If you expand the Suppression / Notification Options dropdown, you will see the following settings.
- Suppress New Account Notification: this option, when turned on, will prevent new students from receiving the course_new_account_password email (for username/password login account types) or the course_new_account_token email (for token login account types).
- Suppress Enrollment Notification: this option, when turned on, will prevent the course_new_enrollment email from being sent to the students who are about to be enrolled.
- Skip Duplicate Enrollments: if set to "None", then students who have already been enrolled into a course will be enrolled again. If set to "All", this will prevent enrollments for students from being duplicated. If you specify a Date Range, then if the student was enrolled into the course within the date range, they won't be enrolled again into that course.
NOTE: If the Allow Duplicate Enrollments option is off in the School Settings, then duplicate enrollments will not be allowed, even if the Skip Duplicate Enrollments is set to None.
Step 5: Select Enroll Date, Due Date, and Course Selection
The next step is to choose an enrollment date, due date, and select which course(s) you'd like to enroll your targets or group into. This is where you can choose to schedule enrollments in advance by selecting a future date.
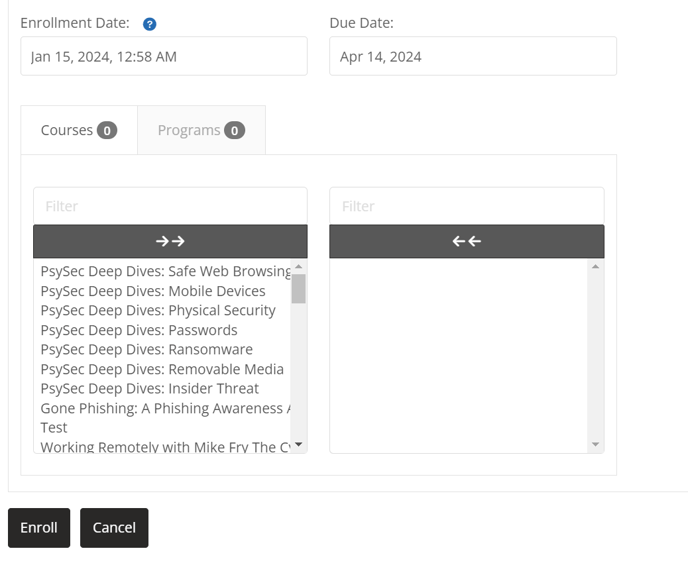
- Courses / Programs: these are the courses/programs within your account that you may enroll your students/group into. The courses/programs you wish to enroll the targets or group in will appear in the select box to the right of the list of available courses/programs.
- Enrollment Date: You can use this date to schedule the enrollment to be created on a certain date. When you create a scheduled enrollment, it will appear on the Scheduled tab of the Manage Enrollments page.
- Due Date: This is the date the student must complete the course/program. If the student does not complete the training by the due date, then you can specify that they receive past due emails every week. If a course is due on 1/30/2024 then the student must have the course completed by 1/29/2024 in order for the course to be completed on time.
- Use Target Manager Name/Email: Turning this toggle on will cause the target's manager to be used as the enrollment manager. If this setting is off, then you can set a custom manager name/email for the enrollment(s) that will be created.
- Enrollment Manager Name/Email: You may specify a manager for the enrollment. The manager will be CC'd on enrollment and course reminder emails sent to the student (note: the manager will be CC'd on these emails only if you specify this in the School Settings).
Click to enroll the targets or group in the selected courses/programs. If done correctly, a green success bar will appear on the top of the window.
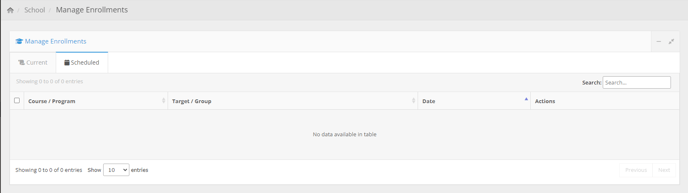
Now Current and Scheduled enrollments can be viewed under School>Manage Enrollments:
Note: We recommend that students take the courses in Chrome, Firefox, or Edge browsers.
If you would like to review your default school settings before officially enrolling, feel free to navigate to the left side of the screen to Administration>Settings>School Settings.