Creating a Group
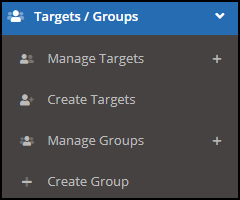
To create a group, navigate to Targets / Groups > Create Group. You can also create a group by clicking the "Create" button on the Manage Groups page.
This will open the Create Group Wizard.
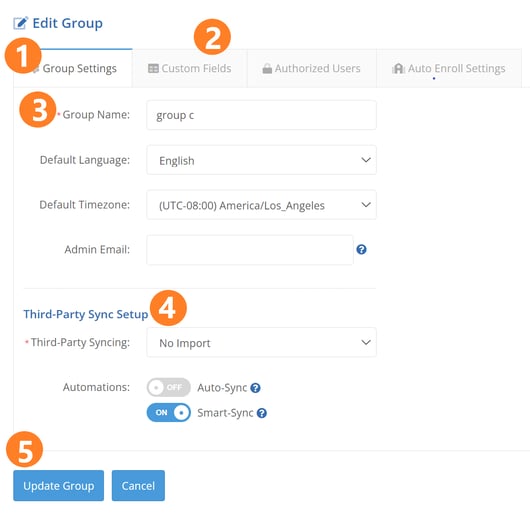
The Group Settings Tab contains general group configuration options.
- Group Name - Type the group name in this field. The group MUST have a name in order for the group to be saved.
- Default Language - This is the default language for any new targets that are created for the group and do not have a language specified. If you are editing a group and you change the default language, then there will also be a drop-down asking you if you want to update unsent messages with the new language locale. If you choose "Yes", then the system will try to use the new default locale for any unsent emails for that group.
- Default Time zone - This is the default time zone for any new targets that are created for the group and do not have a time zone specified.
- Admin Email (Optional) - This can be a comma-separated list of email addresses that receive automated reports at the end of a campaign.
- Third-Party Sync Setup (Optional) - Choose your desired third-party integration in this section, and any syncing automations you would like to enable for the group. For more information on our available third-party integrations, see section: Third-Party Integration.
- Third-Party Syncing - Select which type of third-party sync you want to use.
- Auto-Sync: When enabled the group will automatically sync with the directory with which the group is integrated. New users added to the directory group will be added as active targets, and disabled/inactivated/removed directory group users will be set as inactive targets.
- Smart-Sync: If smart-sync is enabled, any targets added to the group will be automatically enrolled in any ongoing tests on the group. Targets will be removed from ongoing tests only if there are unsent messages for them in the test. Does not apply to campaigns that have Target Selection turned on (selecting individual targets to include in the campaign).
When you are done configuring the group, click the "Create Group" button to save the group. If you have chosen a third-party integration, you will be redirected to the appropriate interface to configure your integration settings.
Editing a Group
After group creation it's then possible to edit the group. If you have a group that you wish to edit, navigate to Targets / Groups > Manage Groups and click the "Edit" option corresponding to the group you want to edit.
The Edit Group pages exposes a few options that are not available for newly created groups, as described below.
Custom Fields
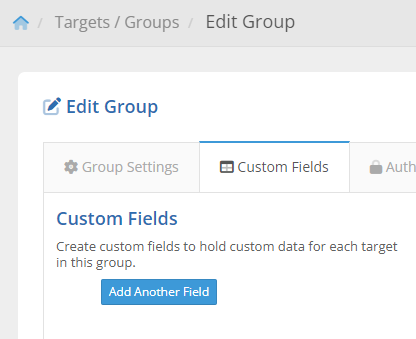
PhishingBox has many predefined target fields (e.g. first name, last name, department, city, etc.). In the Custom Fields tab, you can add your own fields to targets in the group. Simply type the field name into the "Field Name" text box. Click "Add Another Field" to add another field name text box.
Authorized Users
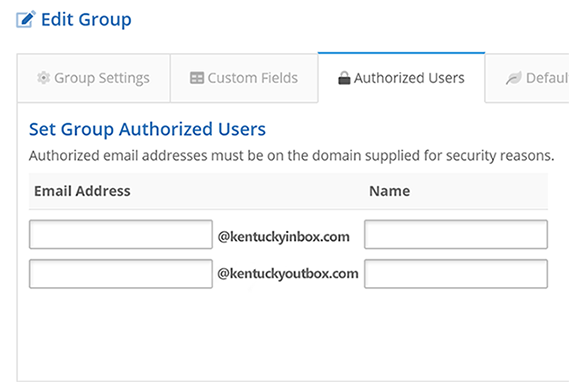
The Authorized Users tab allows you to pre-set the users who will receive test authorization emails. If a group has authorized users set, then authorization emails will automatically be sent to the authorized users when the group is scheduled for a test.
Auto Enroll Settings
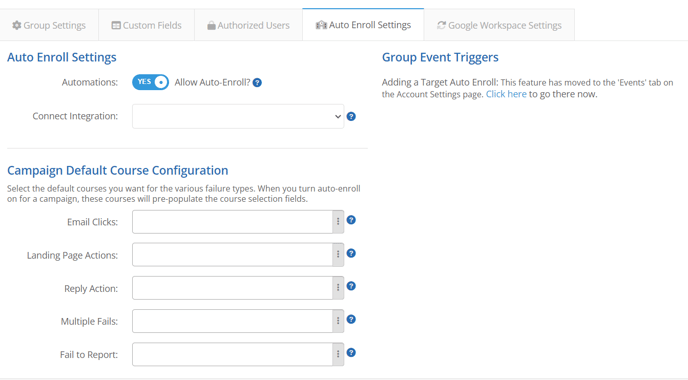
The 'Auto Enroll Settings' tab allows you to enroll group targets in courses for specific fail types. In order for this feature to function the Automation's switch must be set to "Yes".
- Campaign Default Course Configuration: Courses selected here will populate in the Campaign Wizard during campaign creation when configuring Auto-Enroll.
- Connect Integration: Allows campaign auto-enrollment into a third-party LMS platform.
- Group Event Triggers: Moved to Account Settings
Integration Settings
The Integration Settings tab allows you to configure the third-party integration associated with the group. In this example, we are using LDAP, but the tab will display whichever integration you chose during the group creation stage. The integration settings available will vary from integration to integration.
Direct Delivery
Direct Delivery allows you to place messages directly into a Microsoft user's inbox (using Microsoft Graph), without the need of sending an email from a mail server. This allows you to bypass any delivery issues when conducting simulated phishing tests.
The recipient email addresses must exist within the Azure tenant where Direct Delivery is enabled, otherwise they will not receive the mail. When a PhishingBox group has direct delivery enabled, it will automatically attempt to send simulated phishing and training emails to targets in the group using Direct Delivery.
NOTE: It's possible to enable Direct Delivery for the entire account instead of a specific group. See the Direct Delivery Section of our Mail Settings article.
To enable Direct Delivery, click the "Enable Direct Delivery" button. The following permissions will be requested:
- Read all users' full profiles
- Read mail in all mailboxes
- Read and write mail in all mailboxes
- Sign in and read user profile
Click the "Accept" button to grant these permissions. To disable Direct Delivery, click the "Disable Direct Delivery" button: