To navigate to Phishing Settings, expand Administration > Settings > Phishing Settings.
The Phishing Settings page is where you can edit settings pertaining to Phishing Campaigns. On the IP Filters tab, you can choose to exclude certain IPs, IP ranges, and CIDRs from your test results. The Verified IPs tab allows you to verify specific IPs, IP ranges, and CIDRs in your test results. The User Agent Filters tab lets you exclude test results coming from certain user agents.
Jump to the following sections that describe the Phishing Settings page.
- General
- IP Filters
- Verified IPs
- Templates
- User Agent Filters
General
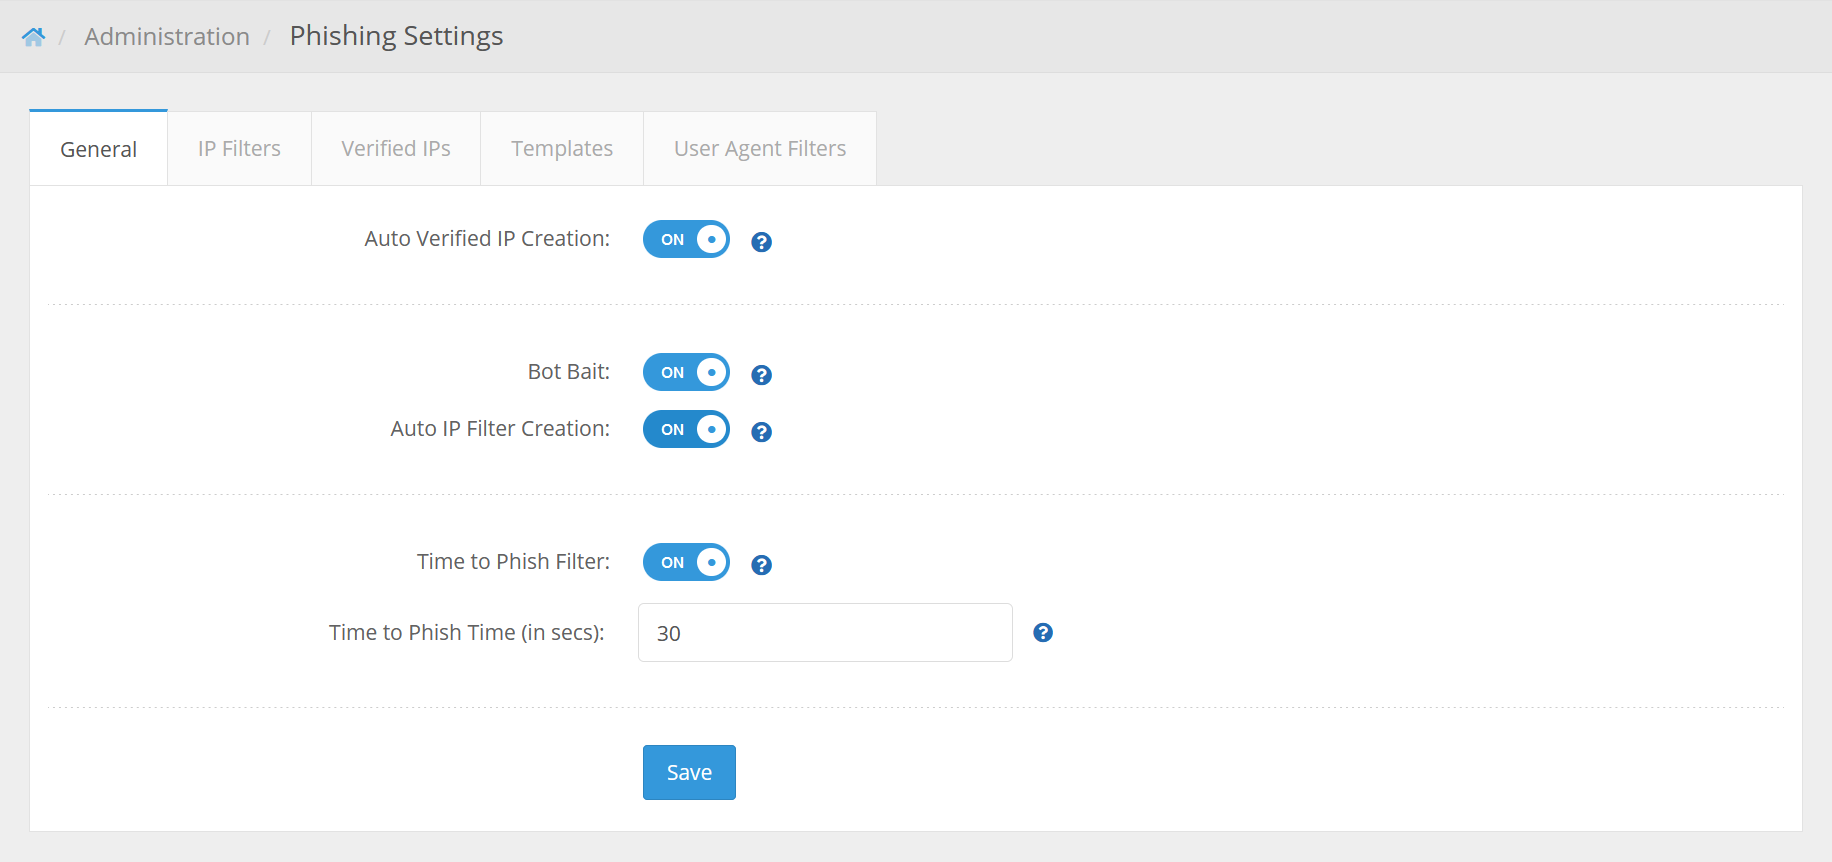
- Auto Verified IP Creation - will automatically create a Verified IP/User Agent combination when human activity is detected through Advanced Human Detection (AHD).
- Bot Bait - insert an anchor tag around the tracking pixel in a Phishing Email. Since it is invisible to anyone opening the email, anything that follows that link is a Bot/Crawler. You can turn it off here if it is causing deliverability issues.
- Auto IP Filter Creation - will automatically create an IP Filter for an IP/User Agent combination when a bot/crawler is detected.
- Time to Phish Filter - filters out any action that occurs between the time of sending and the Time to Phish Time defined in the settings.
- Time to Phish Time - is the length of time, in seconds, to use for the Time to Phish Filter. It is recommended to leave the default time in place unless you are absolutely sure you need to filter out all actions within a larger amount of time.
IP Filters
The IP Filters tab lets you choose to exclude certain IP addresses, IP ranges, and CIDR blocks from your test results.
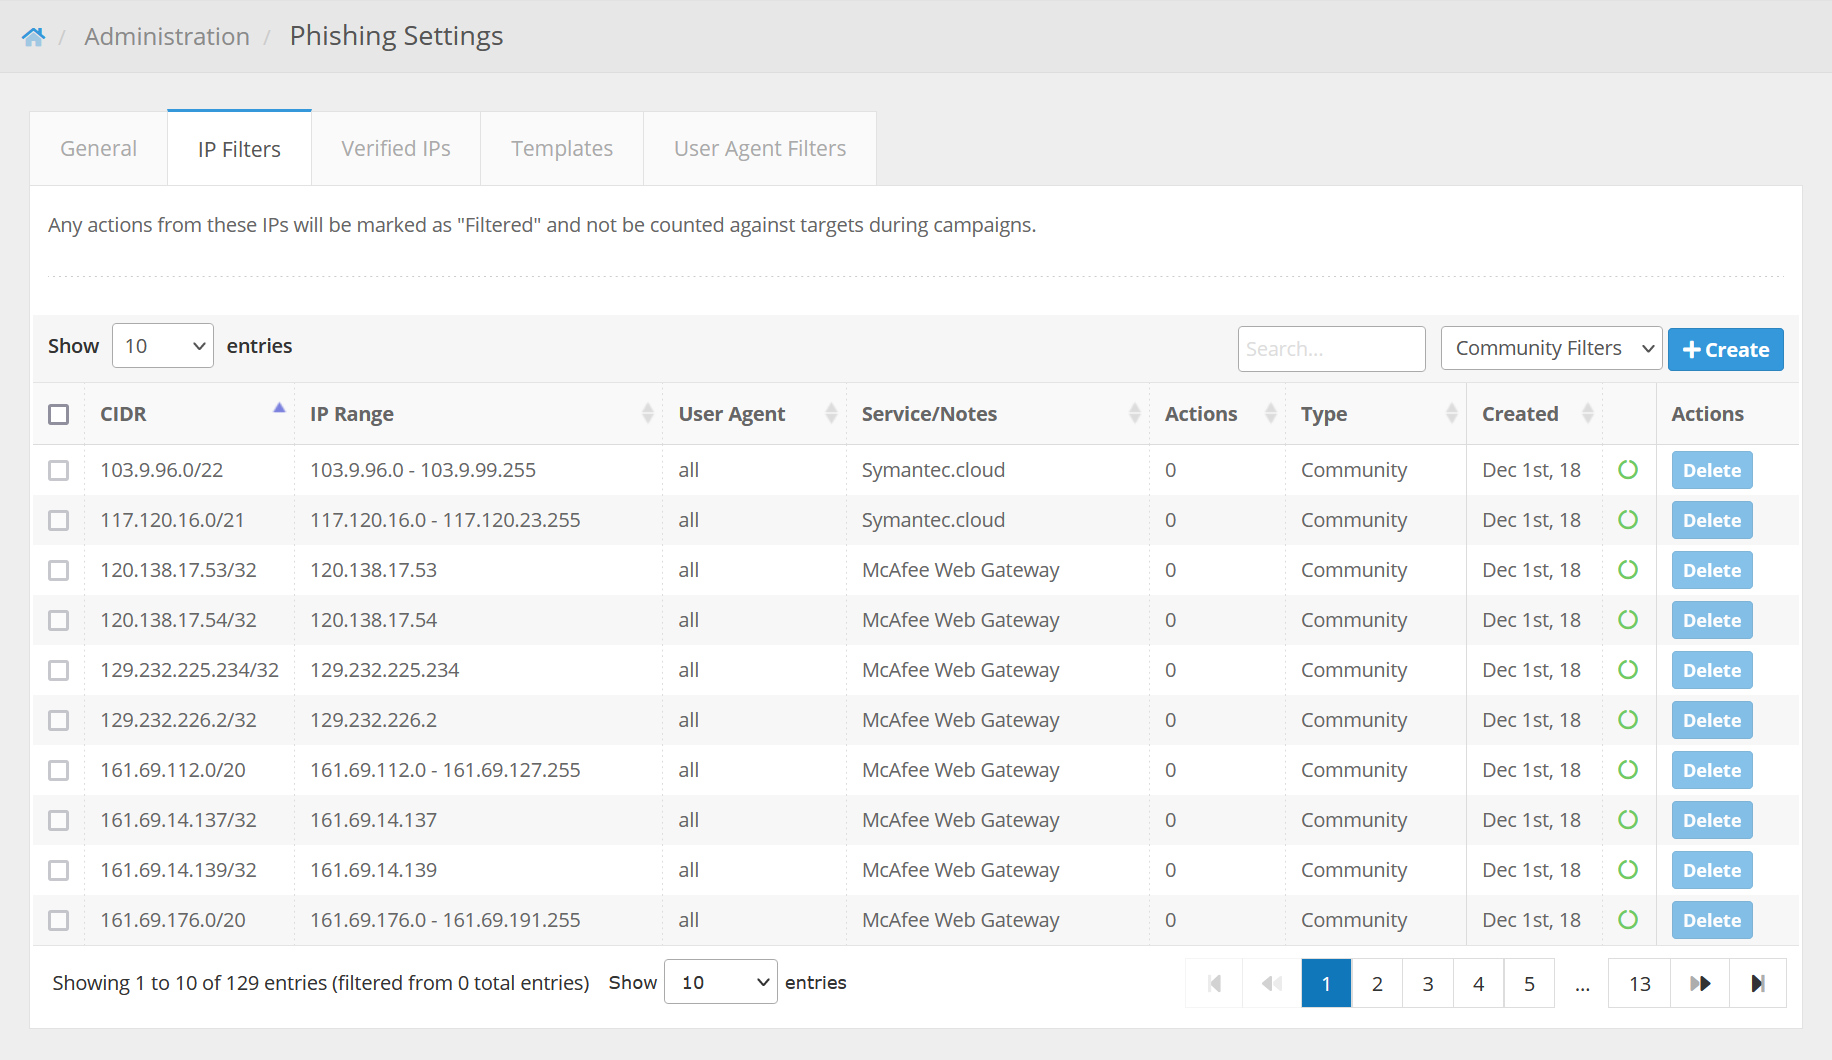
- CIDR - this is the block notation for the specific IP address that is being excluded.
- IP Ranges - this is the range of IP addresses being excluded. If the entry is for only one IP address, then the range will list just a single IP.
- Service/Notes - this is where information about the service associated with the excluded IP/range/CIDR is listed.
- Actions - this is the number of actions in your account that are coming from the IPs in the entry.
- Type - "Account" if the IP/range/CIDR is being excluded on your account only; "Community" if the IP/range/CIDR is being excluded system-wide.
- Status - this column will be green if the entry is enabled, red if the entry is disabled ("enabled" means Portal is excluding the IP/range/CIDR from test results; "disabled" means it is not being excluded from test results).
- Actions - you can disable/enable the entry by clicking the button under Actions.
If you wish to add an IP address to the excluded list for your account, click the Create button. You will then be prompted to enter the type of filter you're creating (whether you're excluding singular IPs, an IP range, or a block of IP addresses). In the IP(s) entry box, enter in all IP or range or CIDR in a comma-separated list. You can enter a description of the entry you're creating as well in the Service/Notes section.

Verified IPs
The Verified IPd tab lets you choose to verify certain IP addresses, IP ranges, and CIDR blocks in your test results.
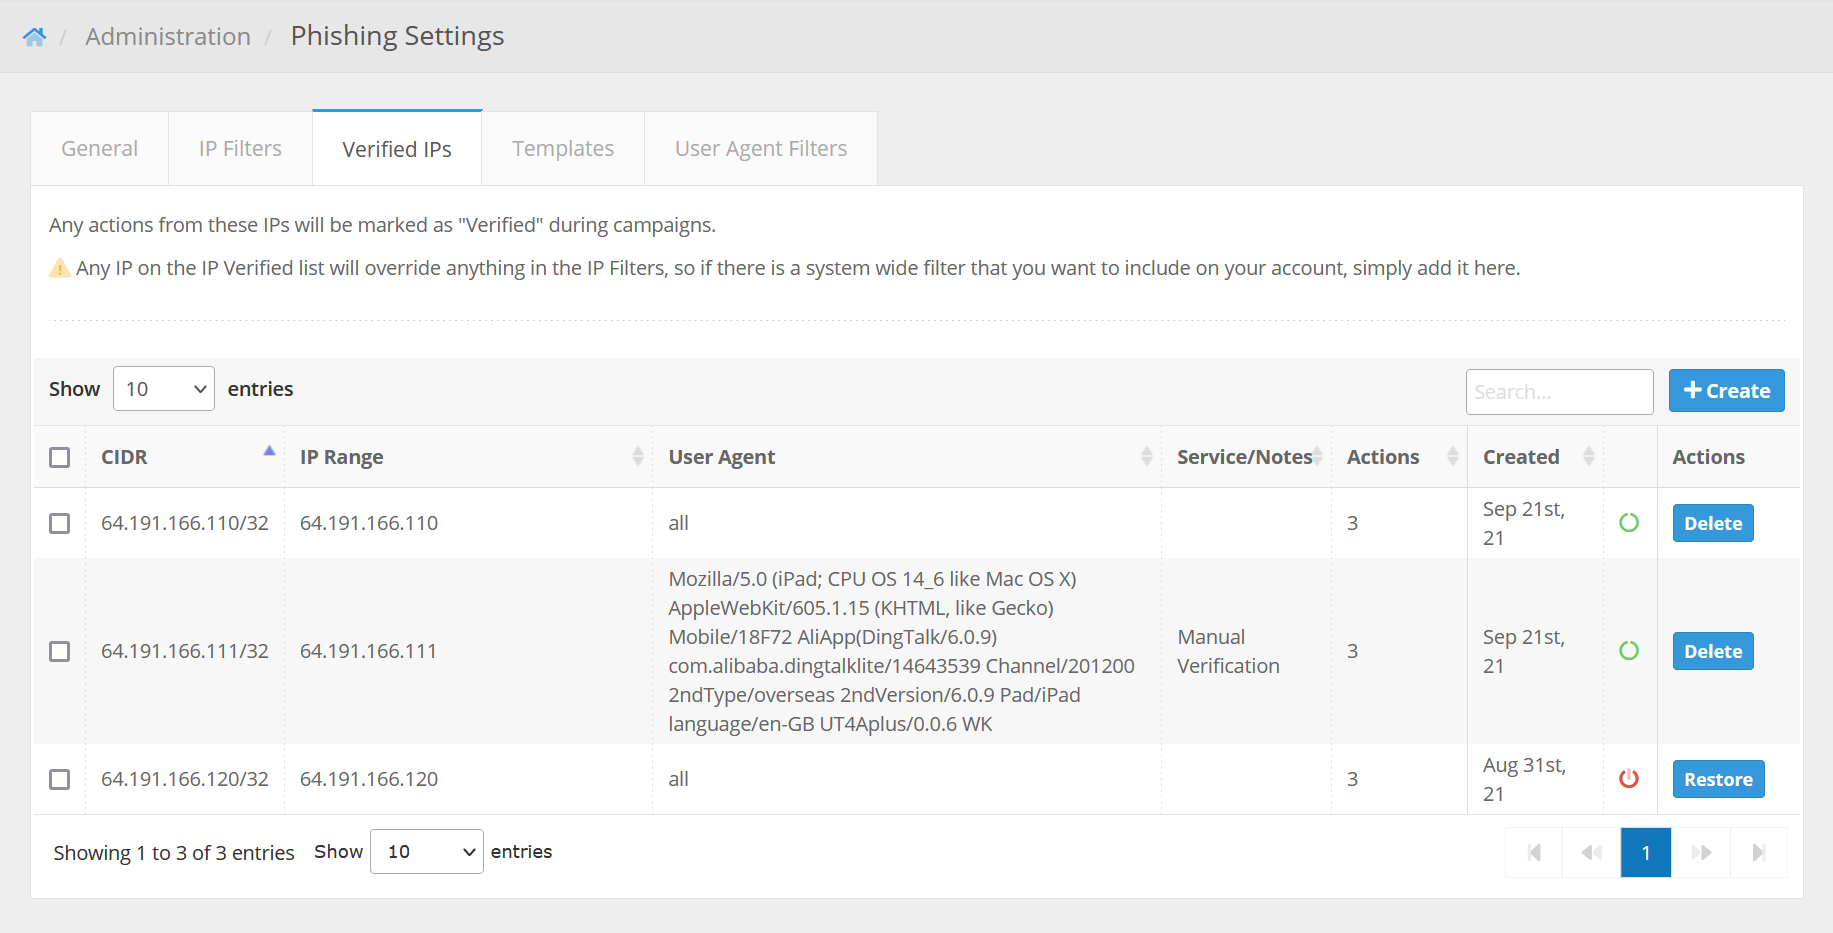
- CIDR - this is the block notation for the specific IP address that is being excluded.
- IP Ranges - this is the range of IP addresses being excluded. If the entry is for only one IP address, then the range will list just a single IP.
- Service/Notes - this is where information about the service associated with the excluded IP/range/CIDR is listed.
- Actions - this is the number of actions in your account that are coming from the IPs in the entry.
- Status - this column will be green if the entry is enabled, red if the entry is disabled ("enabled" means Portal is excluding the IP/range/CIDR from test results; "disabled" means it is not being excluded from test results).
- Actions - you can disable/enable the entry by clicking the button under Actions.
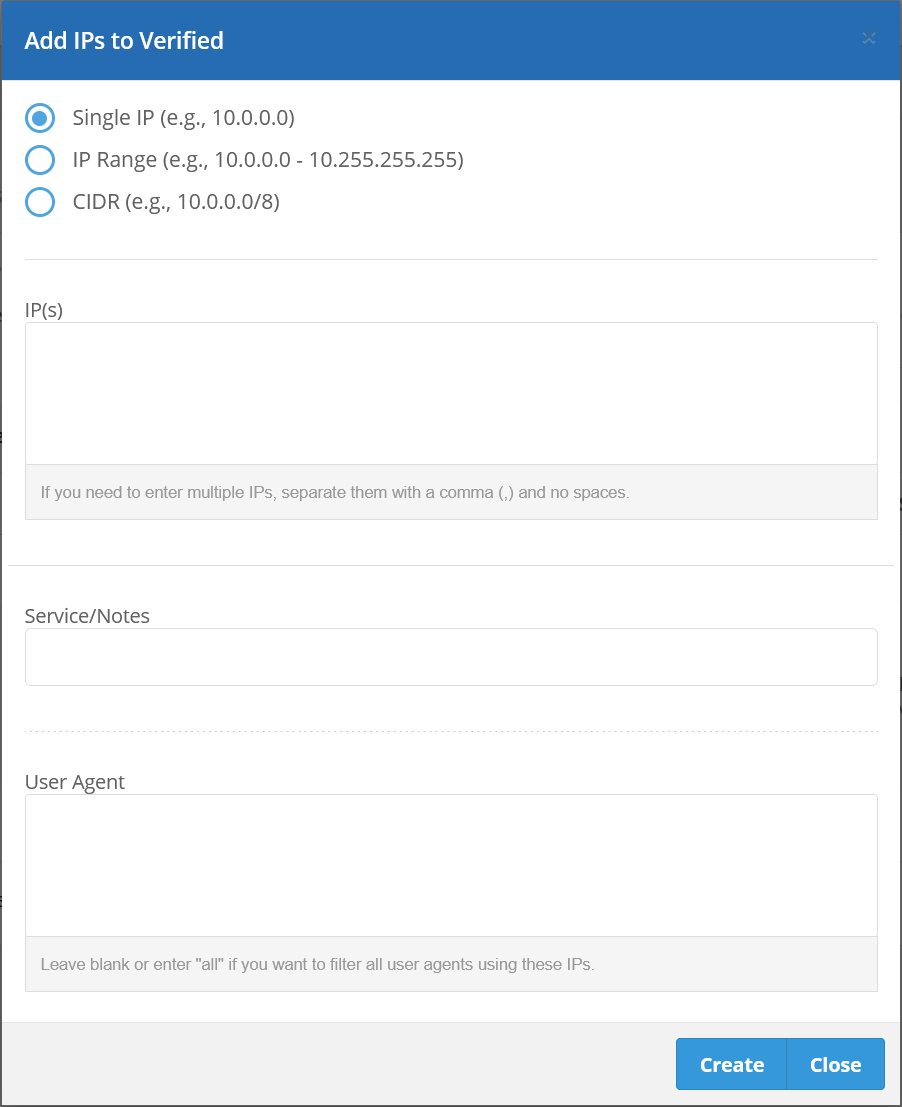
If you wish to add an IP address to the Verified list for your account, click the Create button. You will then be prompted to enter the type of filter you're creating (whether you're verifying singular IPs, an IP range, or a block of IP addresses). In the IP(s) entry box, enter in all IP or range or CIDR in a comma-separated list. You can enter a description of the entry you're creating as well in the Service/Notes section.
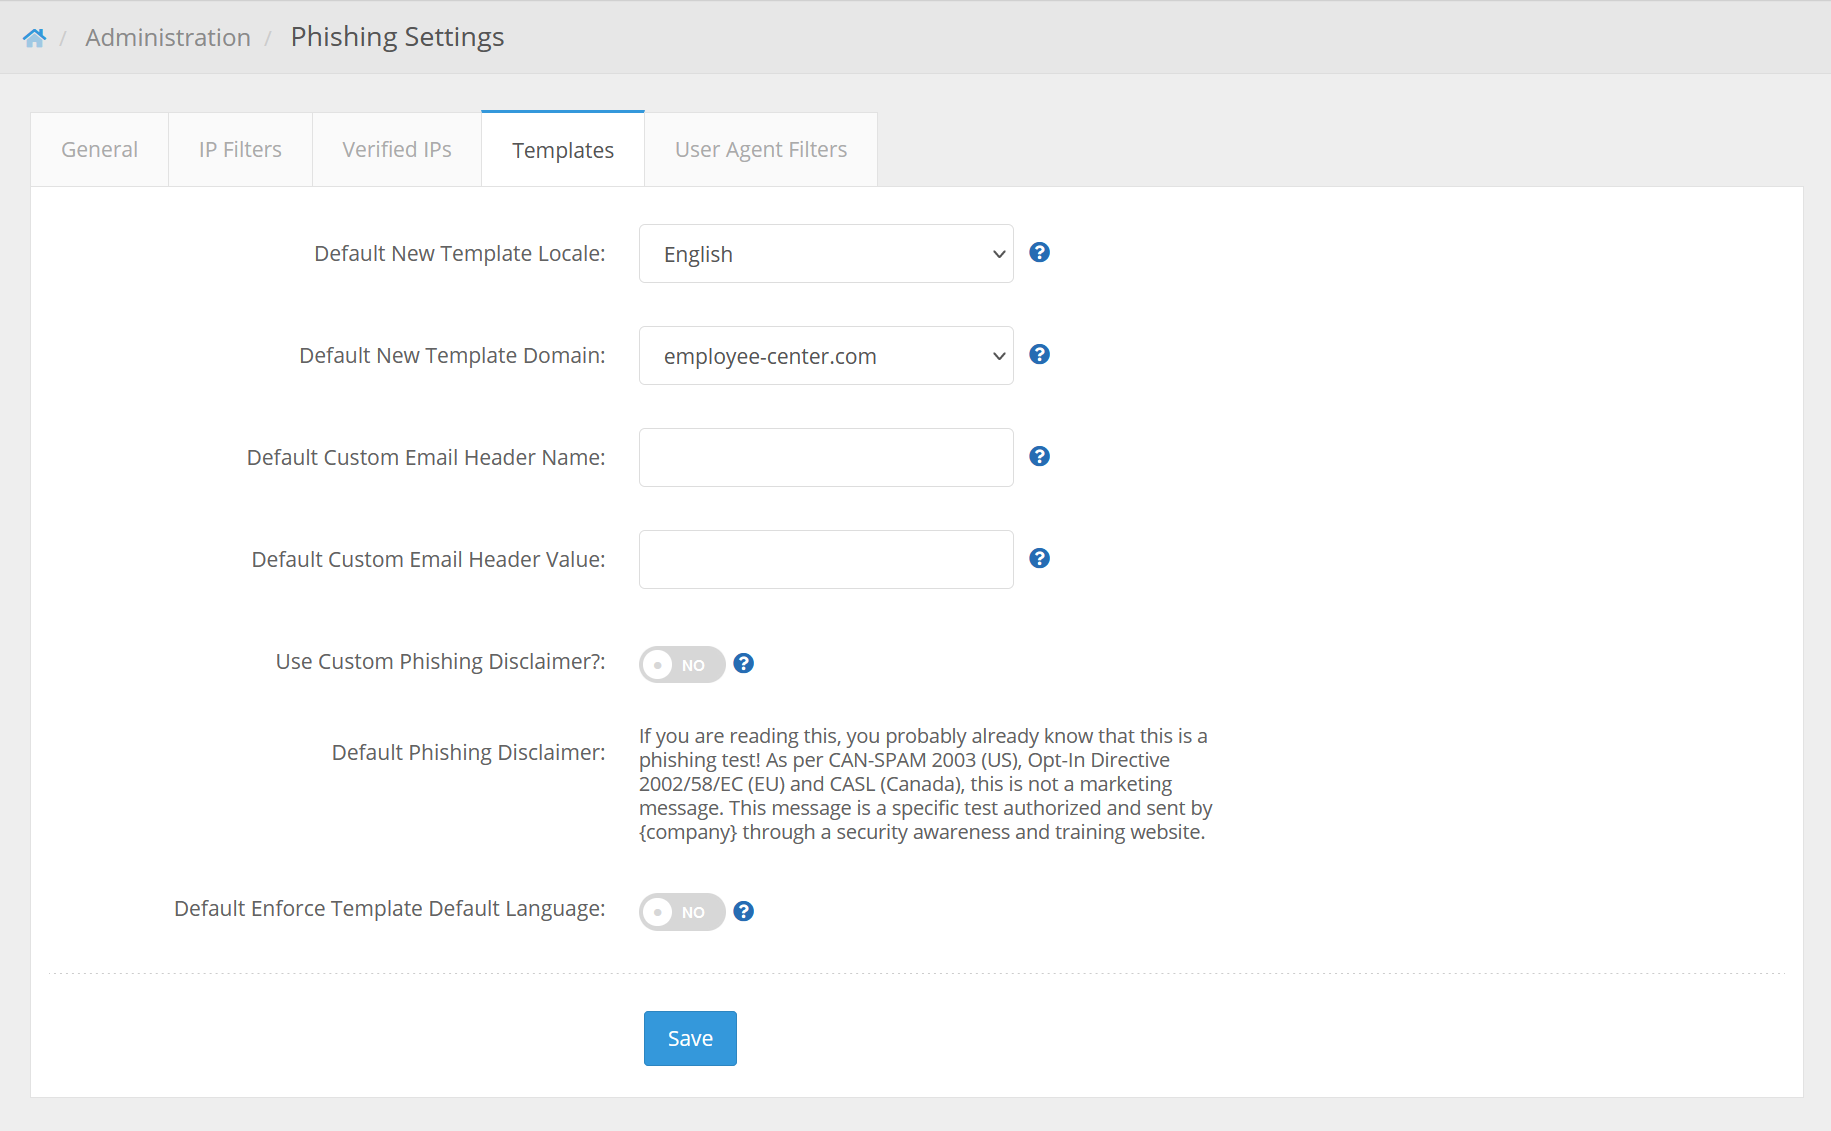
Templates
The Templates tab lets you setDefault New Template Locale,Default New Template Domain,Default Custom Email Header Name,Default Custom Email Header Value,and a custom phishing disclaimer.
User Agent Filters
The User Agent Filters tab allows you to exclude actions coming from certain user agents.

- User Agent - the user agent that actions will not count if they come from.
- Service/Notes - information about the user agent.
- Actions - this is the number of actions in your account that are coming from the user agent entry.
- Type - "Account" if the user agent is being excluded on your account only; "Community" if the user agent is being excluded system-wide.
- Created - date the filter was created.
- Status - this column will be green if the entry is enabled, red if the entry is disabled ("enabled" means Portal is excluding the user agent from test results; "disabled" means it is not being excluded from test results).
- Actions - you can disable/enable the entry by clicking the button under Actions.
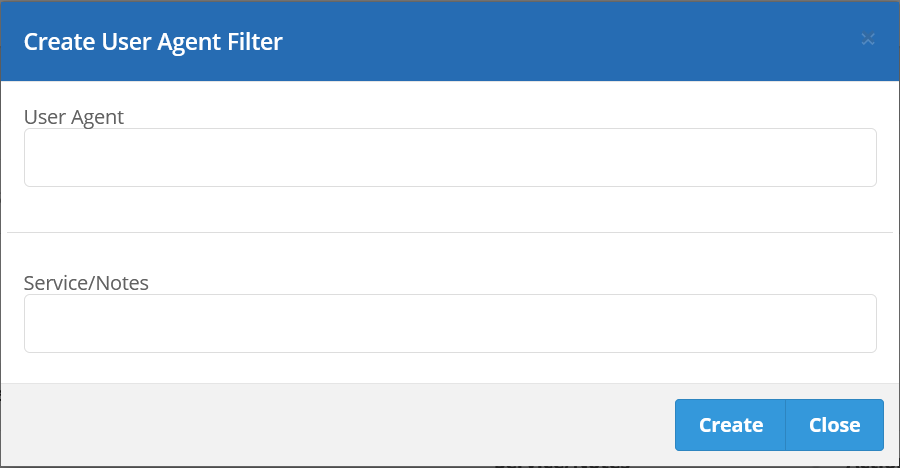
To create a user agent filter, simply click the Create button. A popup will appear which will let you enter the user agent and service notes.