Overview
To get to the Manage Target Domains page, go to Tests / Campaigns > Manage Target Domains.
This will open the Manage Target Domains page. If a domain has been authorized (i.e. you don't need to send a Campaign Authorization email to someone on that domain), then it will say "Authorized" under the status column.

How to Pre-Authorize Domains
Pre-authorized domains allow you to bypass sending an authorization email for every domain you are testing. To add a new domain, simply click the Add Domain button. A pop-up window will appear where you can enter the domain to be added.
- NOTE: After one domain is added on a Single account, the "Add" button will no longer be available. To add more domains, you must contact your Account Manager to get them approved.
Once added, you will be transferred to the Verify Domain page where you can select the method you wish to use in order to verify the domain. There are four methods to choose from:
- Email (recommended)
- HTML tag
- HTML file
- Manual authorization form
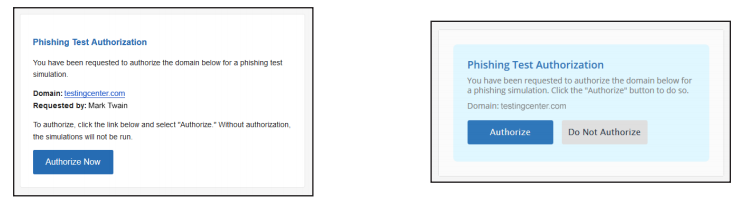
Simply enter the authorizer’s email address and click Send Verification Email.
The recipient will receive an email similar to the one on the left. After clicking Authorize Now, they will be taken to a page similar to the one on the right where they approve the authorization.
The remaining three methods are listed below with instructions on how to implement them: