After importing the assets, you can then configure auto-enroll settings that can enroll users into Prime courses based on fail actions made during phishing tests.
Follow the steps below to connect your Prime account to Hook Security, Inc.
- Create a Prime app
- Get a Refresh Token
- Hook Security, Inc Integration Store
- Auto-Enroll Configuration (optional)
Create a Prime App
Creating a Prime app requires a user with integration admin permissions. To assign integration admin permissions, please refer to the Prime documentation.
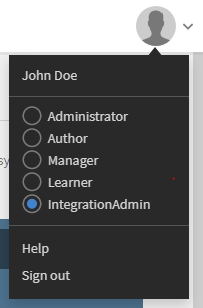
First, enter the Integration Admin portal in Prime by clicking the user drop-down menu in the Prime portal and clicking 'IntegrationAdmin'.
Next, click the 'Applications' link in the site nav.
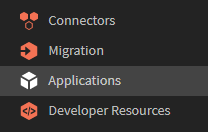
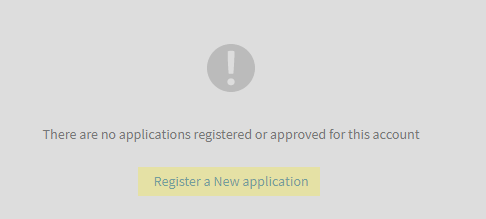
If there are no applications registered for the account, click 'Register a New application'.
If you have registered applications, click the 'Register' button.
![]()
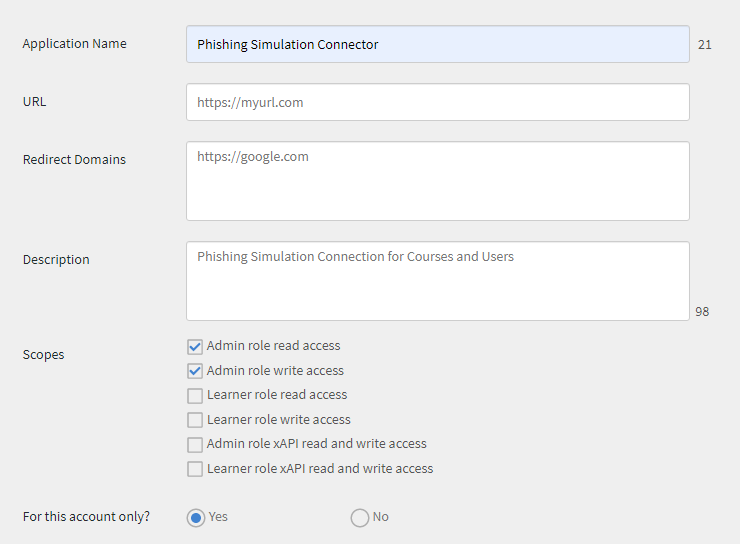
This will open the application registration form. Give the application a name, URL, a redirect domain, and description. In the 'Scopes' section of the form, check the 'Admin role read access' and 'Admin role write access' checkboxes. In the 'For this account only?' section, leave the 'Yes' radio button checked.
You will need the redirect domain later to get a code used to get a refresh token. Use a redirect domain that your browser can load.
Click 'Save' to save the application registration.
Now that the app has been registered, you can generate a refresh token and connect the app to Hook Security, Inc.
Get a Refresh Token
From the IntegrationAdmin portal, click the 'Developer Resources' link in the site nav.
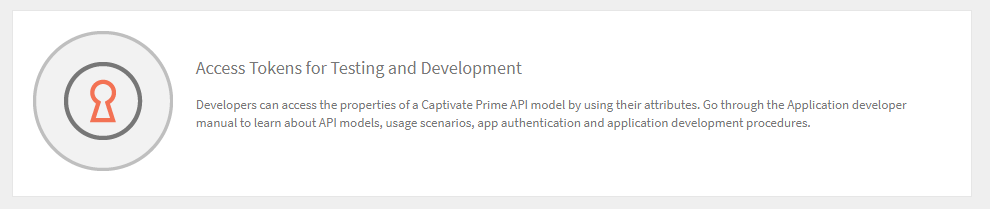
Click the 'Access Tokens for Testing And Development' link. This will open the Token generator in a new tab.
In the previous tab, click the card of the app configured previously.
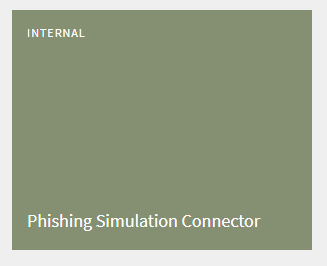
You will need the application's Application ID, Application Secret, and a Redirect Domain.

Navigate back to the token helper. In the 'Get OAuth Code' section, enter the app's Application ID and a redirect URI, then click 'Submit'.
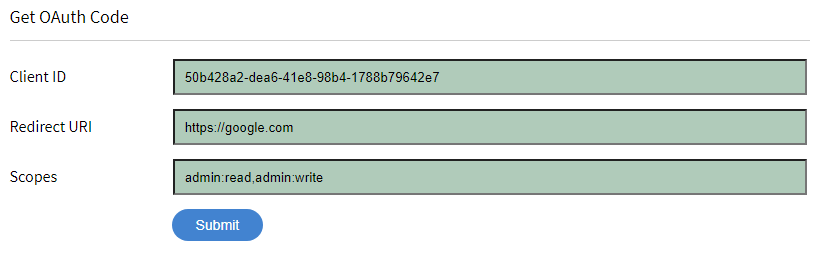
This will navigate the browser to your Redirect URI with an OAuth code appended to the URL. Copy the text after the 'code=' URL parameter from your browser's URL bar, as shown below. You will need this code in the next step.
![]()
Once you have your OAuth code, navigate back to the Access Tokens for Testing and Development page in Prime. In the 'Get Refresh Token' section, enter the app's Application ID, Secret, and the OAuth code copied in the previous step, then click 'Submit'.
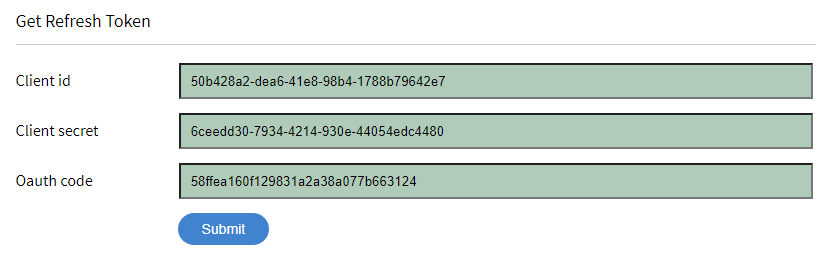
This will display a JSON object containing the refresh token that Hook Security, Inc needs to access the Prime API. Copy the value between the double quotes and save it for the next step.

Hook Security, Inc Integration Store
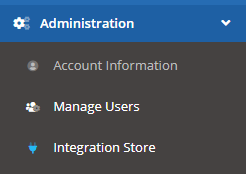
After completing the steps above, you have all the information needed to connect Prime to Hook Security, Inc. Log in to the Hook Security, Inc portal, and navigate to Administration > Integration Store in the site nav.
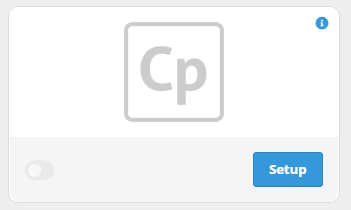
Locate the Prime card, and click the 'Setup' button to open the Prime integration form.
You will need the Application ID, Application Secret, and Refresh Token we generated in Prime. Enter the Application ID into the 'Client Id' field, the Application Secret into the 'Client Secret' field, and the Refresh Token into the 'Refresh Token' field.
If the 'Active' switch is set to 'Yes', the sync will be queued. When the sync is finished, an integration_sync_finished email will be sent to the Account Manager Email (set on the Notifications tab on the Account Settings page).
If you wish to sync only courses, select 'Only Courses' in the 'Sync Content Option' select menu.
Select a 'Group Default LMS Connection for Auto-Enrolling' setting. This will match groups based on their name in Hook Security, Inc, or allow all groups to use the LMS integration.
For more information about Sync Content Options and Group Default LMS Connections view their respective tooltips in the Hook Security, Inc portal.

If there are more than 250 groups in the Captivate integration, then they won't all be displayed (you'll search for them based on name, as shown below).
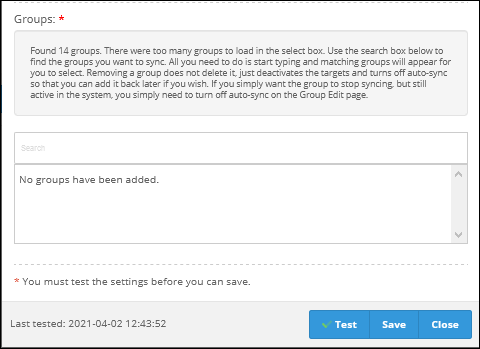
After populating the form, click the 'Test' button located at the bottom-right hand side of the form. If a connection is made and the 'Sync All Groups' option was set to 'No', then your Prime user groups will be listed in a select box. Select the user groups you wish to sync, then click the 'Save' button. If the 'Active' switch was enabled, your courses, groups and users (optionally) will be queued for syncing into Portal. The sync usually completes within minutes of being queued. When the sync is finished, an integration_sync_finished email will be sent to the Account Manager Email (set on the Notifications tab on the Account Settings page).
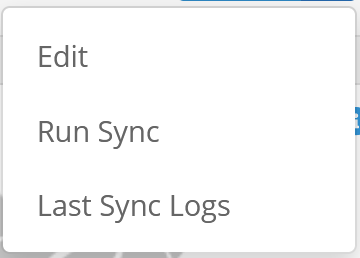
If the 'Active' switch was disabled, click the 'Run Sync' link located in the Prime card's drop-down menu on the Integration Store page. The sync will then be queued for completion. You can view the results of the integration's last sync by clicking on "Last Sync Logs".
If the sync is successful, you will receive a notification at the top of the page and Hook Security, Inc will have references to your prime users and courses. You can now engage Prime users in phishing tests and enroll them into Prime courses based on actions taken during testing.
Auto-Enroll Configuration
To verify the references to your Prime courses were successfully imported navigate to Courses > Integration Courses in the Hook Security, Inc portal.
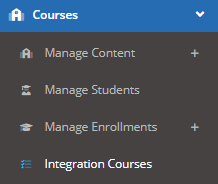
The table on the Integration Courses page will display all the Prime courses that Hook Security, Inc can reference. These courses will be available in auto-enroll configurations.
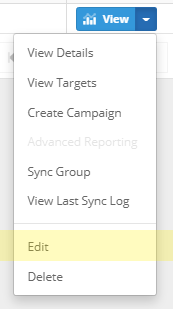
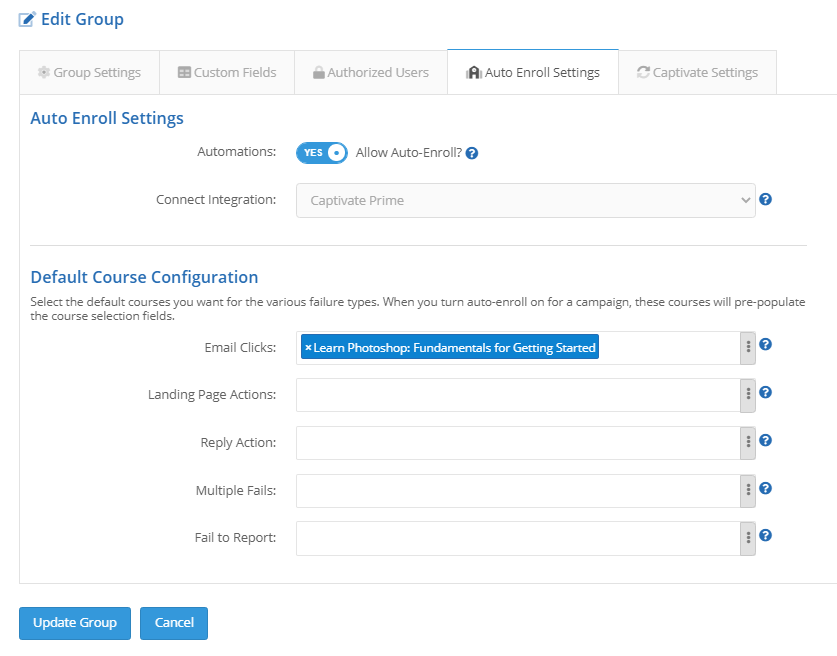
To set up an auto-enroll configuration for a group, navigate to Targets / Groups > Manage Groups in the Hook Security, Inc portal. Click the 'Edit' link in the 'Actions' column's dropdown menu in the respective group's row.
Click the 'Auto Enroll Settings' tab and populate the action types with the desired Prime courses. Click the 'Update Group' button when you are finished.
Now, when creating a campaign you can specify a course auto-enroll configuration, and if it is set on a group it will populate automatically.
In the campaign wizard's setup step, enable the 'Auto-Enroll failing targets' option.
![]()
Next, in the campaign wizard's Course Auto-Enroll step, use the group default or specify a custom auto-enroll configuration. Any users who fail the test will be enrolled into the selected courses based on their fail action type.

For more information about the campaign wizard, see article: Creating a Campaign